DaVinci Resolve 19 on Fedora 41 (NVIDIA GPU)
(UPDATE for DaVinci Resolve 19 on Fedora 41)
DaVinci Resolve is a powerful video editing and color grading software that is used by professionals in the film and television industry. It is available for various operating systems, including Linux. In this tutorial, I will show you how to install the NVIDIA drivers and the required tools on Fedora 41 Linux in order to use DaVinci Resolve 19. These steps are important because the NVIDIA drivers requires special packages to provide improved performance and support for hardware-accelerated video decoding and encoding, which is essential for smooth video playback and rendering in DaVinci Resolve.
Follow the steps in this tutorial carefully and you should have DaVinci Resolve up and running on your Fedora Linux system in no time.
Requirements
The only real requirement is a Nvidia GPU. It is possible to use DaVinci Resolve with an AMD Radeon or Intel ARC GPU, but the performance isn't the best and I hadn't any luck installing it using my AMD Radeon RX 590. So, I'll assume you need a Nvidia GPU.
- A Nvidia RTX GPU
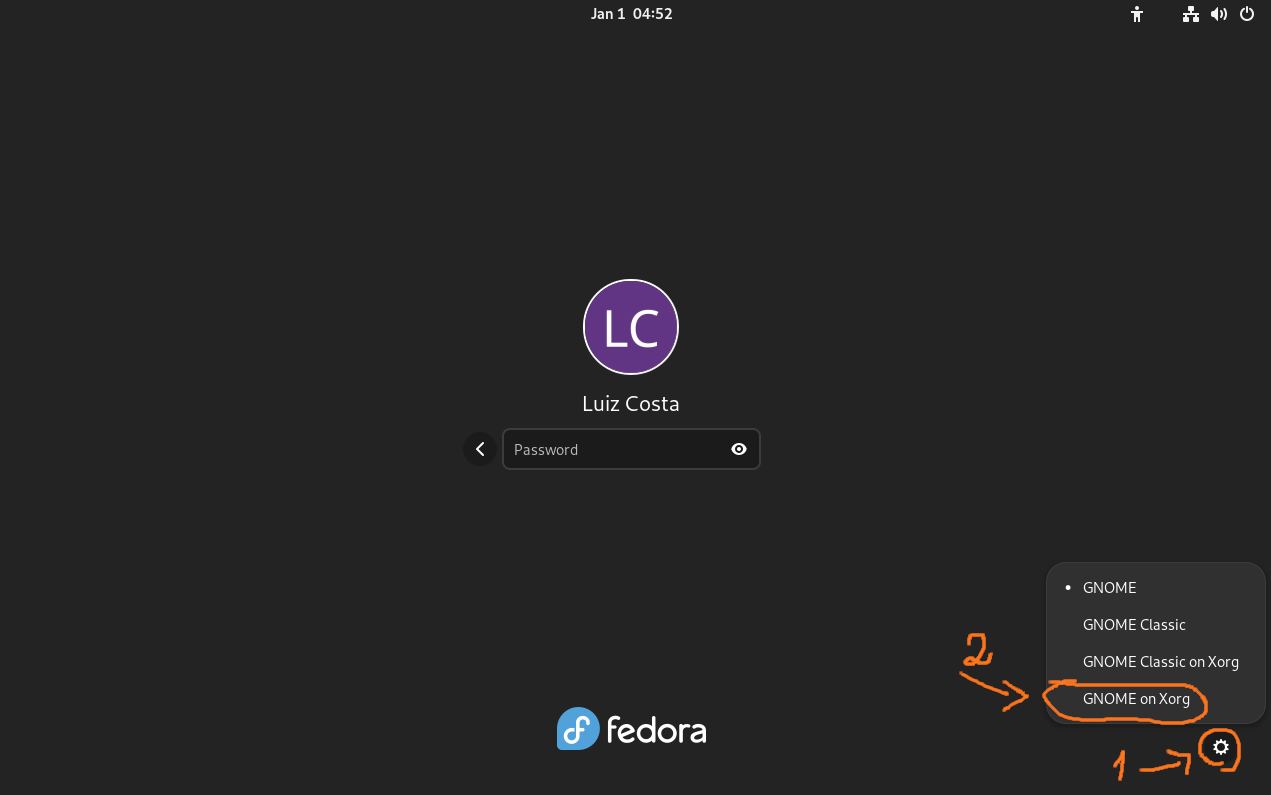
1. Switch to Xorg (not needed anymore!)
NOT NEEDED ANYMORE: some users may have problems with Wayland, depending on their Desktop Environment. If you are using Gnome or KDE, you may skip this step and stay with Wayland.
In the past, I wasn't able to run DaVinci Resolve on Xorg but since Fedora 38, everything looks fine on my machine, so I believe most users, if not all of them, are able to use Wayland from this point.

2. Install NVIDIA drivers
Installing NVIDIA drivers is much easier nowadays. This should be simple.
Make sure you have third-party packages enabled:
https://docs.fedoraproject.org/en-US/workstation-working-group/third-party-repos/
Then, install the `akmod-nvidia` package:
sudo dnf install akmod-nvidiaGreat. Now, make sure you restart your machine.
3. Install Xorg libs for NVIDIA drivers
NOTE: even using Wayland, I needed this package.
Install the `xorg-x11-drv-nvidia-cuda` package:
sudo dnf install xorg-x11-drv-nvidia-cudaThis solves a known error saying that you don't have support for the `opencl` lib.
4. Install DaVinci Resolve 19
Install the Fedora system dependencies:
# Install system libs
sudo dnf install libxcrypt-compat libcurl libcurl-devel mesa-libGLU
Because of licensing reasons, I will not paste any link here, but you can download the DaVinci Resolve package for free from the official website:

Just go there, download the `.zip` file, uncompress it and run the installer.
After extracting the content, navigate to the directory and run the installer but skipping the dependencies check:
# 1. Navigate to the extracted directory
cd ~/Downloads/DaVinci_Resolve_19.1.2_Linux/

# 2. Run the installer using sudo, but skipping the dependencies check
sudo SKIP_PACKAGE_CHECK=1 ./DaVinci_Resolve_19.1.2_Linux.run

# 3. Follow the installation process in the GUI
5. Remove vendored libglib
For some reason, libs like libglib-2.0 vendored into the DaVinci Resolve installation doesn't work on Fedora 41. Kudos to Artur Flinta (check the comments down below) for commenting about it and PhatLe from the Blackmagic Forum.
So, let's move those lib files to a backup directory instead of deleting them. This way you can later revert it in the future, if needed:
# Become root
sudo su

# Navigate to the DaVinci Resolve libs installation path
cd /opt/resolve/libs

# Create the backup directory
mkdir disabled-libraries

# Remove vendored libs, moving them to the backup directory
sudo mv libglib* disabled-libraries
sudo mv libgio* disabled-libraries
sudo mv libgmodule* disabled-libraries
That's it!
You should have everything ready now!
If you want to double-check, follow the steps:
- Open the DaVinci Resolve app
NOTE: the first boot can take one or two minutes - Open/Create any project
- Open setting (`Ctrl+,`)
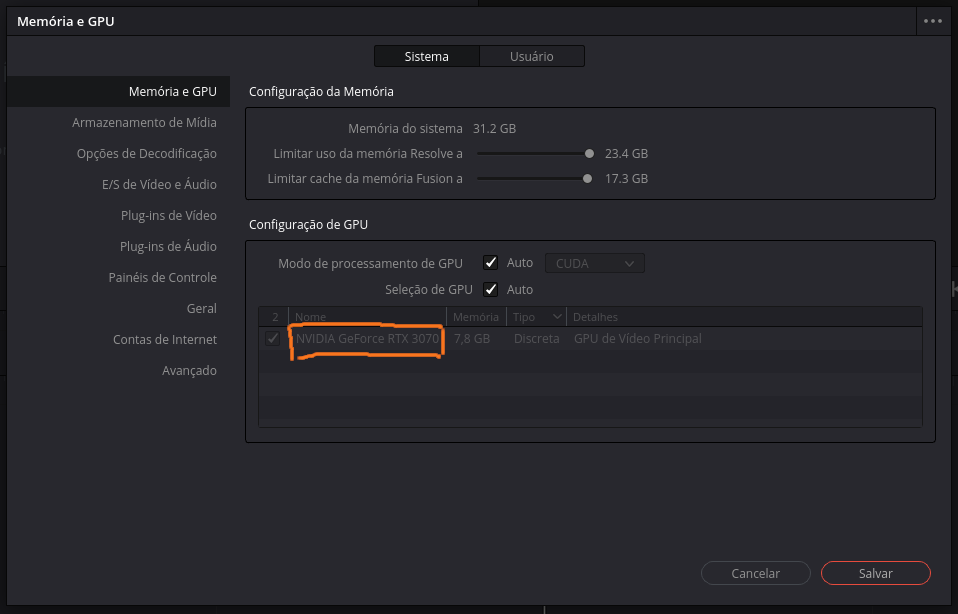
- Go to `Memory and GPU` tab and check if your NVIDIA GPU is available there.
You should see something like this:


