How to encode videos for DaVinci Resolve on Linux
A common problem if you are starting creating video content is the format issues you will face when moving files from different sources to your video editor. In this blog post, I'll cover how to convert your source files from any format to one you will be able to use on DaVinci Resolve.
DaVinci Resolve on Linux
If you want to use DaVinci Resolve on Linux, I recommend you creating an editing rig using a distro from the Universal Blue. There distros, like Bluefin, Aurora, and even Bazzite can easily install DaVinci Resolve for you.
If you wanna go throught the hard path, I created a tutorial to run it on Fedora. I say hard path because things will change and something that was working before can easily stop working after a distro upgrade:
Downloading our tools
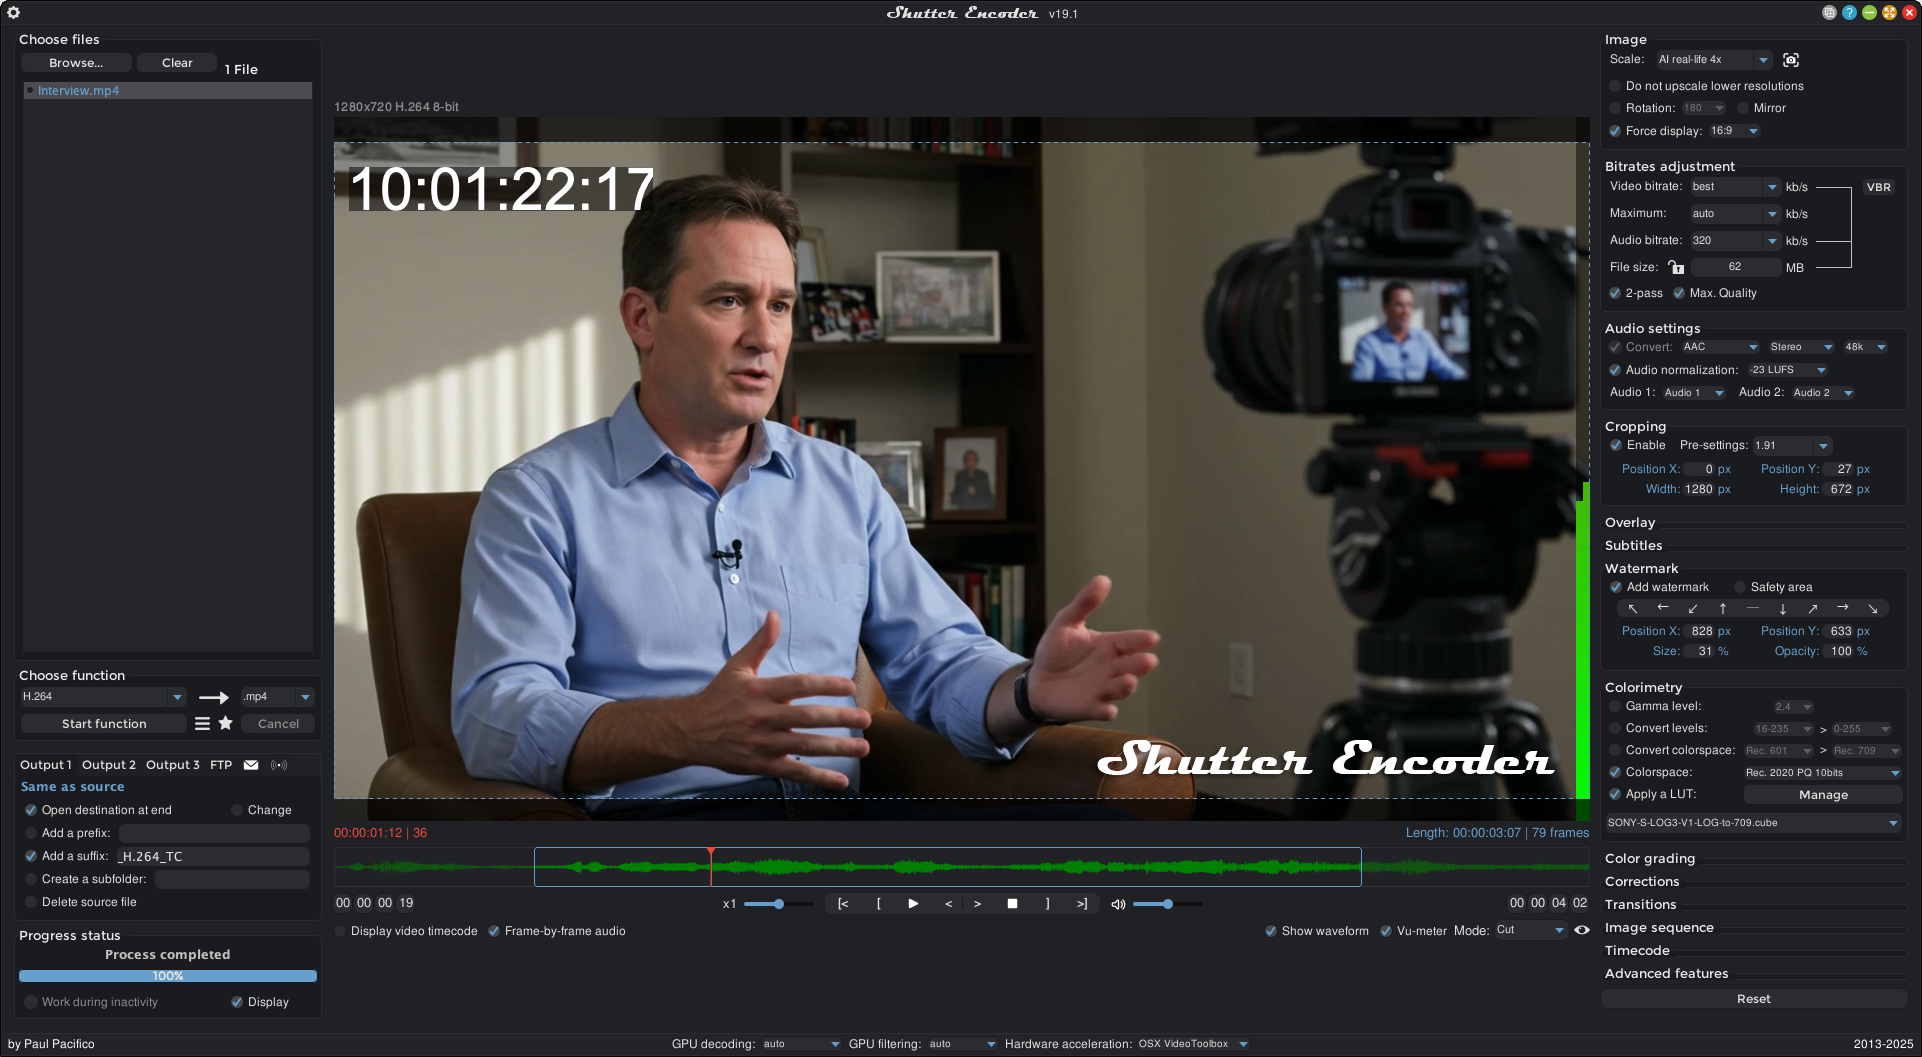
You will need the Shutter Encoder. Go the their website and download the Linux version. If you are not using Ubuntu, get the AppImage format:
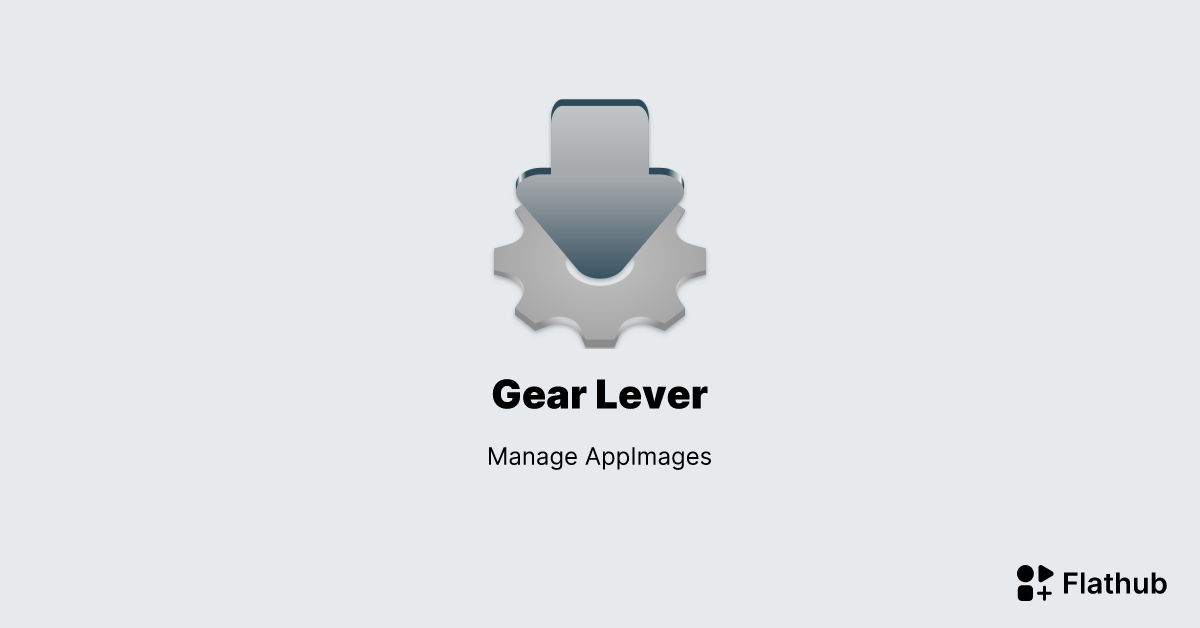
I prefer to install AppImage files using Gear Lever. If you wanna go throught this route, install it and then install the Shutter Encoder using the Gear Lever, it will properly create the shortcut for you in your desktop environment menu.
How to convert your files
Let's create video files optimized for video editing.
NOTE: those video files are massive! An screen recording of 20 MB can easily become a video file of 10 GB. It will depends on the lenght, duration, and framerate only. How much things changes between frames doesn't matter for this editing format, since there's no compression.
- Open the Shutter Encoder and import your video files to it:
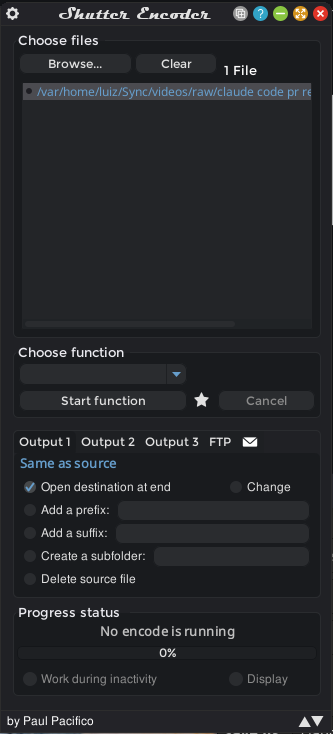
- Select the option
DNxHD, under theEditing codecssection. - Make sure to have the
GPU decodingset tonone. - And then press
Start function.
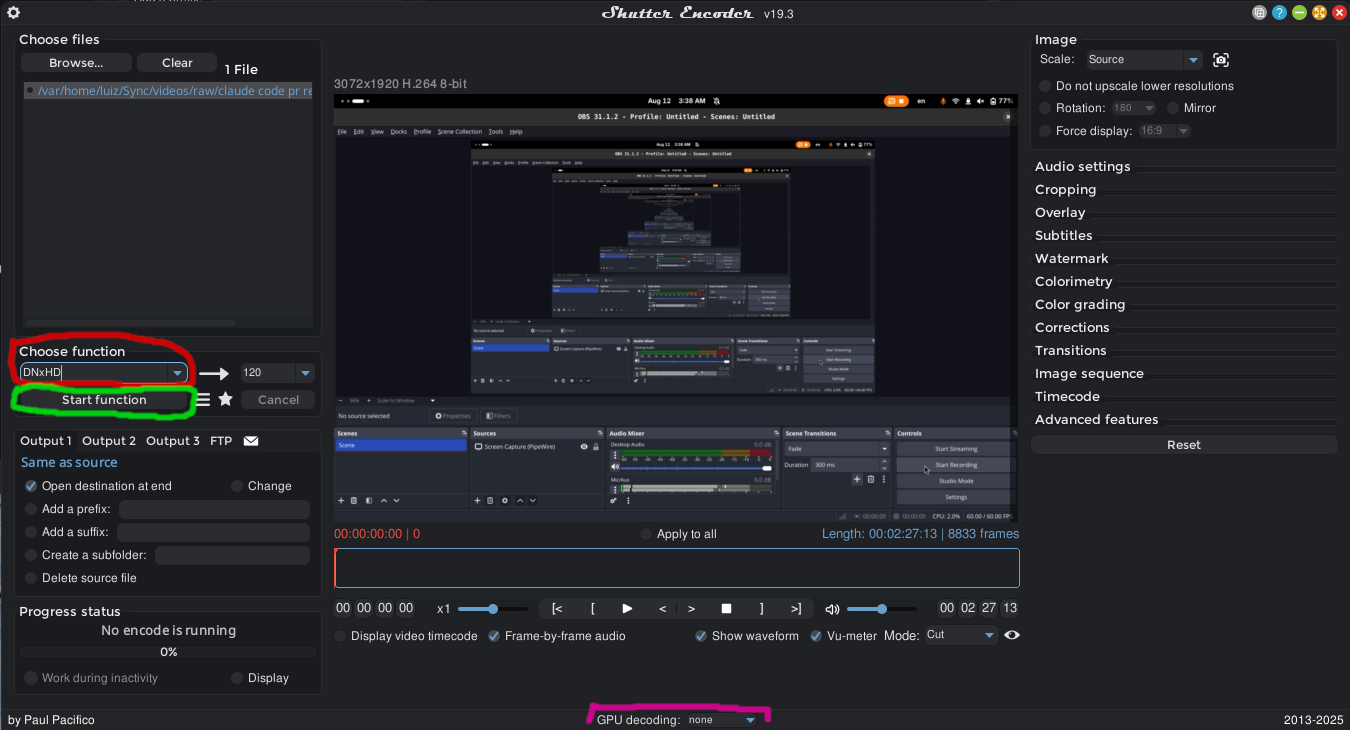
And that's it. You will have a new file created with the .mov extension that is optimized for video editing, even using DaVinci Resolve on Linux.
Reference
- Using Shutter Encoder To Transcode MP4 For Use In Da Vinci Resolve On Ubuntu Linux
https://www.youtube.com/watch?v=zK7x1xDbuo8